Dewdrops and Teardrops
by Marci Blattenberger
 
  • view 1. the surface (leaf, petal, whatever ) ... ( It will help you understand this if you drip a few drops of water onto a surface , shine alight on it and observe the lights and shadows... they will be a little different on each one depending on the shape of the surface the drop is on, the angle the light is hitting it etc... but this is just the basics)
  • view 2. paint in a darker oval-y shape... there can be some lighter-darker variations in this..
  • view 3. paint in a sliver of a dark shadow at the top edge of the oval(arrow) ...This is a cast shadow of the surface of the drop on the inside of the dewdrop
  • view 4. wipe out a crescent ( or sometimes round ) shaped highlight at the bottom edge .. This should be lighter than the original surface shade but not a pure white highlight...
  • view 5.wipe a sharp, strong crescent highlight right at the edge of the highlight you just did ... This is the light shining through the dewdrop and reflecting off the other side. ...Also paint a deep cast shadow under the dewdrop (arrow)
  • view 6. one last step and we're finished.... Add a final very sharp highlight in the darker area of the dewdrop.
   The trick to properly painting dewdrops and tears is to carefully observe them . The above painted sample I did is just one of many different looks of water drops. The shapes, shadows, highlights and color will change depending on the surface it's on, the angle of viewing , the angle and intensity of the light and many other factors... so in order to do this realistically , you need to learn to see what is happening with your particular subject.

Drop # 1 in the black and white photo on the left is pretty close to the sample I painted for you . ( I dropped a drop of water on a tile to observe the sample I did paint )but even in this has differences... and drop #2 is even more different...
Note the Sharp thin highlight on the top outside edge of drop 2... and also the highlight on the underside ( where the arrow is pointing ) ... You'd normally think there would be a shadow there ( and there is) .. but because of the angle of the light path and the thickness of the drop, there is a bright reflection as the light travels through the drop and illuminates the underside of the surface that the drop is on...

    Tears are painted in a similar fashion to dewdrops.. Again, careful observation of shapes, shadows and highlights are the key. Note that tear drops are usually elongated at the top as they run down the cheek... and there is often a trail of slight shadow running from the eye following the path of the tear.
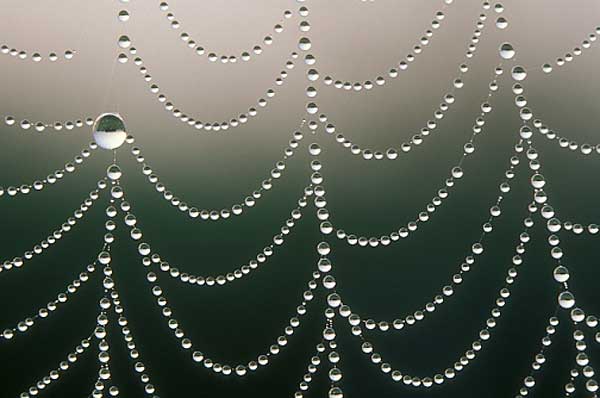
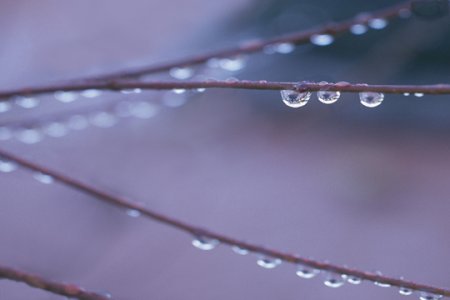
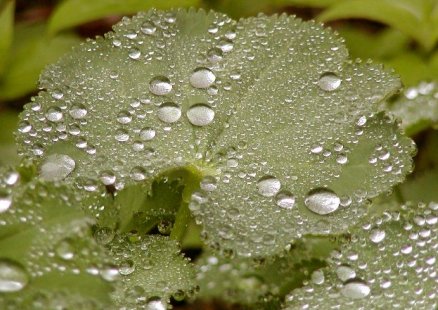
  IMMEDIATE LEFT : I love this photo... Dewdrops on a spider web looking like strings of pearls.

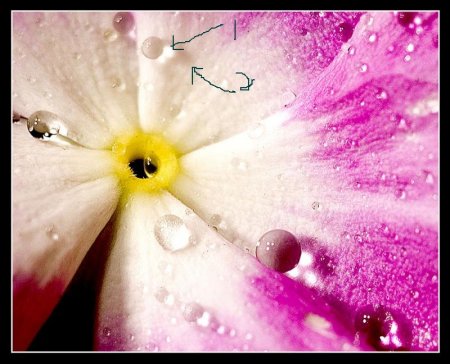
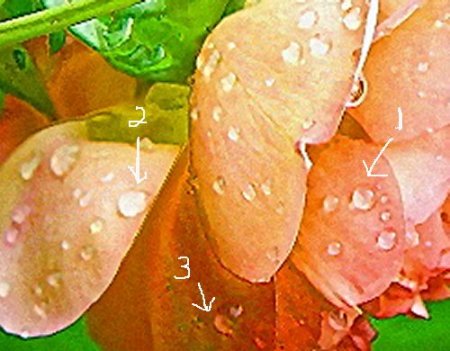
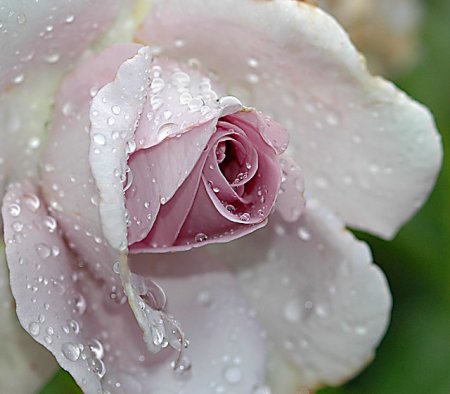
Below LEFT : ( pink and white flower )

#1: Again, on this drop as on the one in the black and white photo, you see the way the light shining through the drop casts a bright highlight on the underside of drop where you think a shadow would be. Note the shadow ( # 2) surrounding that light patch .

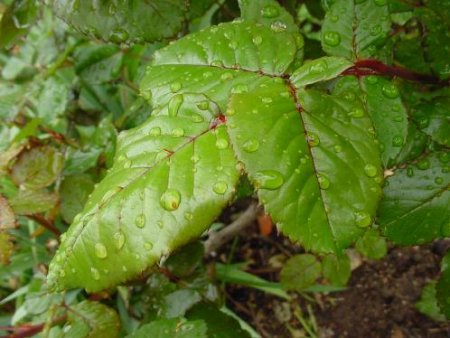
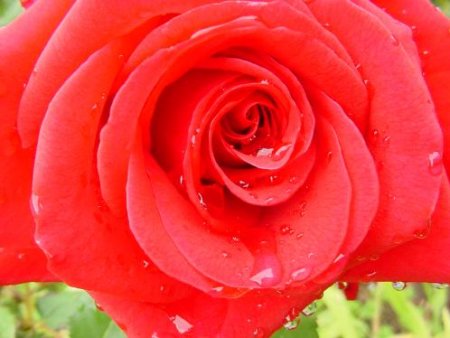
Below RIGHT : (apricot rose)

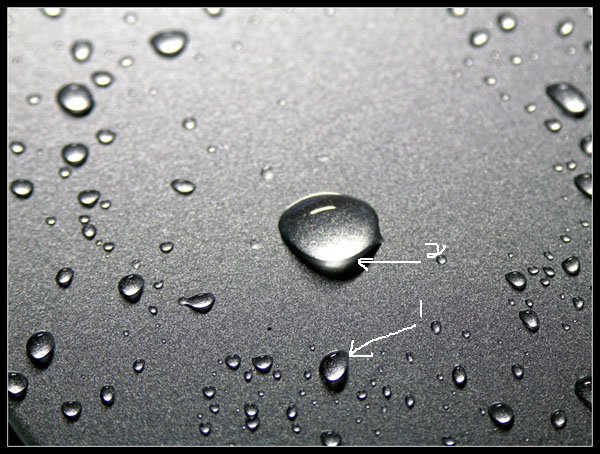
This picture shows many different kinds of drops depending on the way the light hits them.

# 1: is again, similar to the painted sample I did ...#2 , however, even though it is on the same rose is comepletely light. The only visible shadow is the cast shadow under the drop and some shadowing on the upper edge... and # 3 is different yet again...It has the light and shadow patterns but since it is in shadow itself, it is darker than the other drops.

All of these things are important to note if you want to paint realistically .