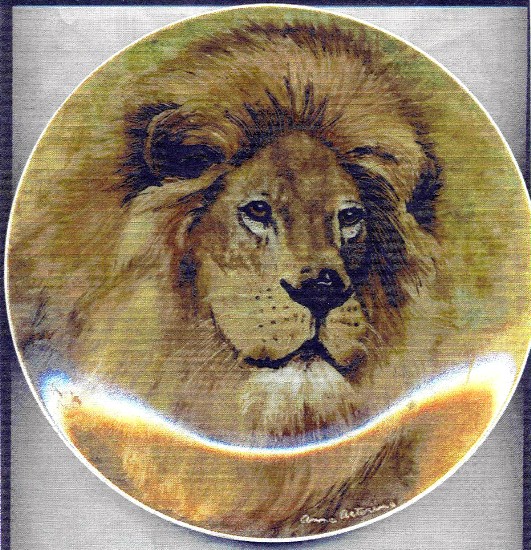
COLORS:
by Anne Astorino
|
COLORS:
|
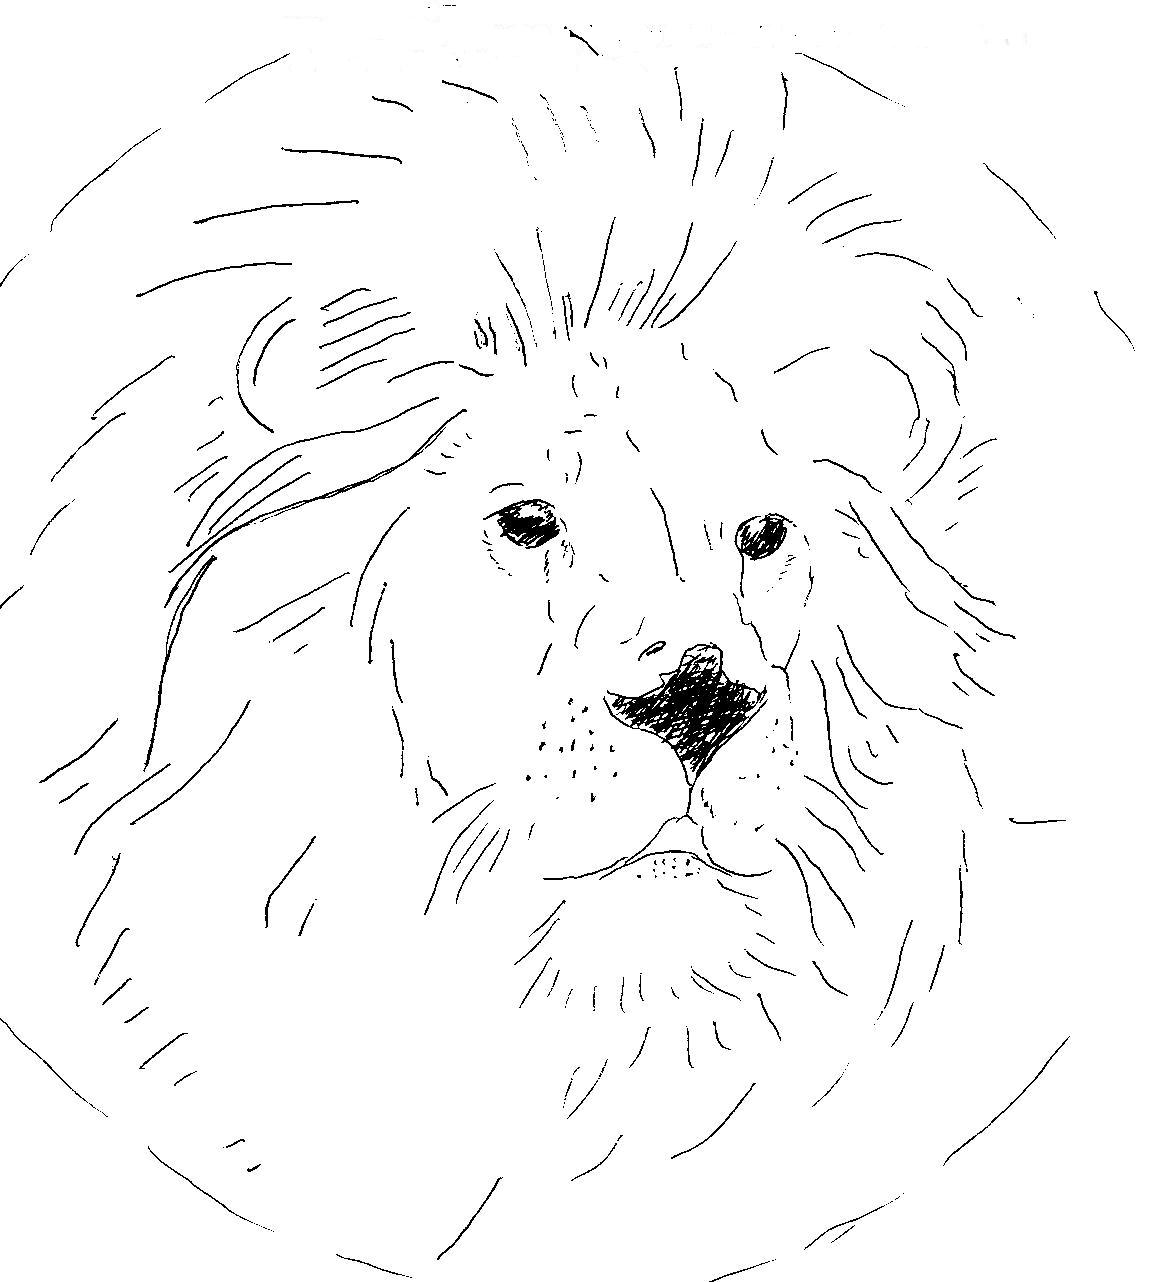
| After tracing design onto plate with graphite, re-outlining design with pen and India ink or a Stabillo pen.While this is setting, read the instructions.After your outline has dried, sand lightly to grey it down. DO NOT BLACKEN AREAS ON YOUR DESIGN (even though they are done that way on the line drawing....This is for reference only) Start the Lion with the eyes. The expression "makes or breaks" an animal portrait. Proceed to the nose and mouth area and finally, the ears. EYES are critical to the end result.Start with them and be sure they are correct before continuing. Eyes are the focal point and set the mood and personality of the lion. Leave good HIGHLIGHTS to retain an "alive" look. Wipe out clean highlights in the direction of the light. Work on the NOSE area and when that is set , do the MOUTH which also sets the mood of the lion. Since the EARS also reflect the expression of an animal, we work on this next. The ear direction correlates with the eyes to further aid your accuracy of the lion. Check your work thus far.Make sure the eyes are placed properly, the same size and both have SHARP highlights. Give your drawing the mirror test----a drawing that is correct backwards is accurate. Double check the nose, its highlights and mouth placement.Paint in or wipe out the fur in the ears. The direction and texture of line creates contour and helps establish the lion. The thickness and proximity of the liner produces intensity of light, shaadow or color. Lay the FUR in the darkest areas and graduate to the medium and light areas, varying the length of your brushstrokes. After laying in fur, allow it to set before texturing. If the color is laid on to thickly inthte darkest areas, a patchy effect results. Washes applied too heavily in trying to get the darkest value will cause the work to blister. The fur is not one solid color. It is darker next to the skin , lightening as you get to the tips. Pull your brush in the direction the fur grows.Use a toothpick to pull out strands of fur to add detail. Be sure the fur has highlights and shadows and the edges are soft and fuzzy. Add tiny hairline details for fur texture in various areas. BACKGROUND is just that!!! Do not overshadow the lion. If you plan one-fire, make sure the dark shadows and bright contrasts are obvious. Enjoy!
Anne Astorino |
|
|
|
CLICK HERE to go back to the ON-LINE LESSONS PAGE CLICK HERE to go back to the PPIO HOME PAGE *on-line lessons and lesson pages are the property of PPIO and the contributing artists and may not be reproduced for distribution without permission from PPIO |